Intro to the Peyote Stitch

It’s believed the first peyote stitch pieces were created by Indigenous tribes in Southwestern North America like the Huichol and Tarahumara peoples. They used brightly colored seed beads to create symbolic and spiritual peyote stitch designs. I just love learning about the history! The beautiful colors and patterns really drew me into beading.
Nowadays, peyote stitch is used worldwide by artisans of all backgrounds to make jewelry, amulets, belts, keychains, banners, bead pets – you name it! You can use ANY size bead – even plastic perler beads. It’s a technique that takes some practice, but once you get the basics down, you’ll be hooked. The rhythm and repetition I find so therapeutic. That’s part of what I enjoy about teaching others. I want to spread the love and passion I have for peyote stitch and beading.
So what do you say, ready to learn this iconic stitch? Let’s do it! I’ll walk you through everything you need to know.
What is the Peyote Stitch?
 The peyote stitch is a basic bead weaving technique that creates a dense, fabric-like pattern. It’s done by stitching beads together in a straight or spiral pattern with the beads close together, like a zig zag, one bead up, one bead down. I like to think of it as the cornerstone of beadweaving!
History of the Peyote Stitch
The Huichol and Tarahumara tribes in modern-day Mexico are credited with developing the first peyote stitch techniques. Using materials like glass trade beads, seeds, bones, and porcupine quills, they created stunningly colorful peyote stitch patterns on amulets, jewelry, and ceremonial clothing. I’m in awe of their artistry!
During the 18th and 19th centuries, European glass beads became more widely available through trade routes. This allowed Southwest tribes to further refine their peyote stitch methods using vibrant new materials. Traditional designs evolved as beads like seed beads and cut bead shapes became accessible.
 Today, the core techniques live on both in Indigenous art and in peyote stitch projects worldwide. When I get to teach others this iconic stitch, it’s a privilege to pass on such an ancient, meaningful craft. The history makes me appreciate peyote stitch even more. It’s so cool to think of all the artisans over time who have woven their heritage into beautiful beaded creations.
How to do the Peyote Stitch
Flat Peyote Stitch
 The most common type of peyote stitch creates flat panels or bands, so let’s take a closer look at how to work flat peyote stitch specifically. This technique forms straight perpendicular rows, making it perfect for beadwoven bracelets, hatbands, belts, banners and more – any project where you want a flat, sturdy fabric.
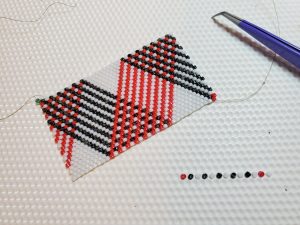
For flat peyote, you’ll start with an odd number of beads, the 2nd row will be even number (1 less) repeated over and over. You can string in a flat panel or in a circle – around something. You can work up the rows, adding rows going up or work down the rows, progressing your pattern downward. . Keep your rows evenly spaced and your tension consistent for best results. Once you have the basics down, you can play with multi-color patterns by carefully planning your bead sequence or following established patterns.
When finishing off flat peyote, I recommend stitching a few rows with just thread or wire to firmly close the edges. You can also add fringe, points, or attach a clasp directly through the peyote stitch edges. The possibilities are endless!
I find flat peyote stitch so rewarding because you can clearly see the gorgeous patterns emerge as the beadwork progresses. It’s easier to count and correct any mistakes. Mastering flat peyote first equips you with the foundation to move on to the dimensional and circular variations. Take your time, be patient, and your hands will learn this satisfying stitch in no time!
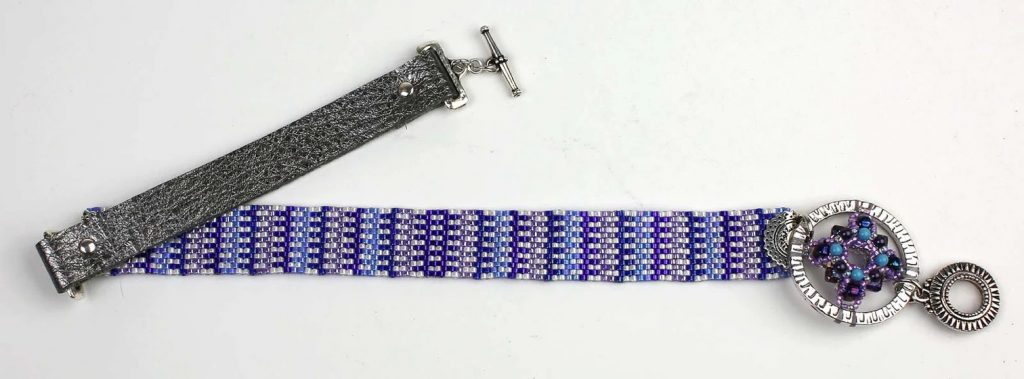
Odd Count Flat Peyote Bracelet
Odd Count Flat Peyote Bracelet
Tools and Materials Needed for Peyote Stitch
- Thread or soft flexible beading wire
- Beading needle with an appropriately sized eye
- Scissors or thread snippers
- Beads! Seed beads work especially well, but larger beads work too.
- Beading mat, towel, or tray to contain the beads
- Good lighting source like an ott lite
- Optional: beadstopper or tape to secure thread while working
- Beading Design Boards:
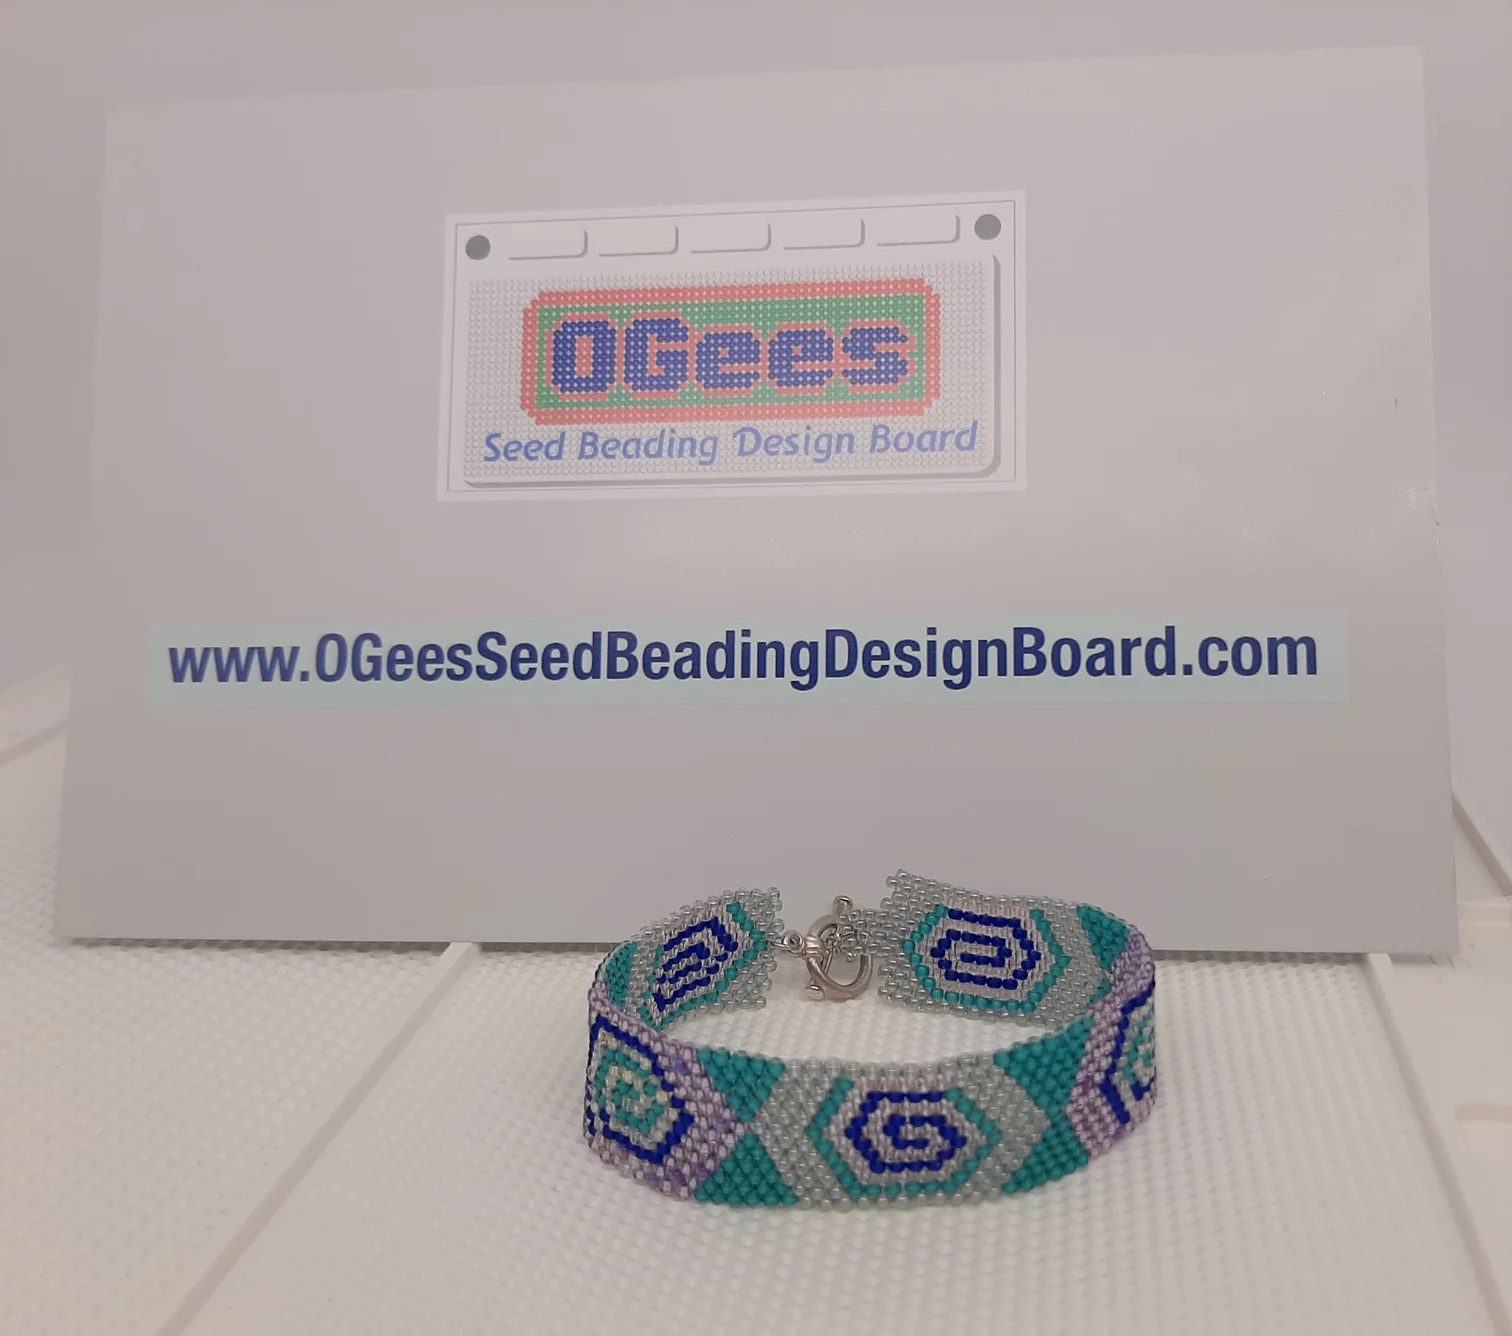
Seed beads – https://www.ogeesseedbeadingdesignboard.com/
Larger beads: https://beadkids.com/shop/beading-tools/bead-design-boards-2-pack/. Both of these boards are reversible to hold beads for different beading patterns. Immensely helpful.
The most important thing is choosing the right size thread or wire for your beads. You want a snug fit through the bead holes, but not too tight. For beginners I would start with a pony bead banner. Larger 6×9 mm beads and all the supplies you’ll need. Easy to use patterns and kits are available from many retail places and bead stores (Etsy, Pinterest, Amazon, The Beadery, The Beadtin, etc). When you get some experience there, then I recommend starting with size 10 or 12 for seed beads. Delicas, Preciosa or other Czech beads have nice large holes so the needles will fit through. There are many patterns and tutorials you can follow. Other beaders love to help and encourage you.
Beyond that, all you need is some basic stitching supplies and of course, beads. Feel free to get creative with sizes, colors, and patterns! Don’t be afraid to experiment with different size/shape beads once you know the technique. Peyote stitch is versatile and can expand your beading horizons. There are plenty of teachers and tutorials available in person at bead and craft stores, facebook, or on-line.
Variations of Peyote

There are many variations of a peyote Stitch:
Flat Even Count Peyote
- Flat Odd Count Peyote
- Fast Peyote
- 2 and 3 Drop Peyote
- Diagonal Peyote
- Stitch in a Ditch
- Circular Peyote
- Tubular Peyote
- Peyote Bezel
- Dutch Spiral
- Cellini Spiral and Flat Cellini
You don’t have to know how to do all of them. We started with the basics stitch and the history and we’ll cover a few variations.
Even Count -
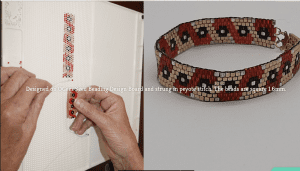
Even Count Flat Peyote Beadwrap Bracelet
- Gather an even number of beads to string for your initial set up – I suggest starting with 6 beads.
- Tie a knot at the end of your thread, leaving a 4-6 inch tail. String on your even number of beads.
- Sew back up through the FIRST bead to form a ring, note the last bead as in odd-count peyote. This is important!
- Work counter-clockwise, stitching up through the next bead and down through the following one. Maintain this “up and down” rhythm. Add one bead, go through ½ bead, add 1 bead, go through ½ bead – that type of pattern.
- Complete the first round by coming out of the LAST bead. Pay attention to exit the last bead, not the first.
- For each new row, flip your work over to the back side. Stitch through the first bead again and add 1 new bead.
- The back side rows are your “up” rows, the front side rows are your “down” rows. Alternate accordingly.
- When closing a round, exit the last bead on the BACK side and flip to the front.
- Add beads to every row, both the up rows (back side) and down rows (front side).
- Take care to exit the proper end beads for even-count peyote’s continuous spiral path.
One of my favorite peyote stitch variations is the even-count peyote. Instead of straight perpendicular rows, even-count peyote creates designs in an angled, spiral formation – so cool! The difference lies in how you initially set up the beads.
For even-count peyote, you’ll need an even number of beads to start. String them onto your thread or wire, then stitch back up through the FIRST bead to form your ring rather than the last bead. This beginning is key to establishing the offset angle.
As you work the first round, maintain the “up and down” peyote rhythm as usual. Complete the round by exiting the LAST bead. When you flip your work to begin row two, you’ll be on the back side. Add 1 new bead, and continue this way – adding beads to both the back side “up” rows and front side “down” rows.
Closing each round by exiting the last bead on the BACK side helps form the spiral effect. Take care to flip your work consistently to follow the spiral path. Even-count peyote has a flowing, rhythmic movement. Once you find the groove, you’ll love crafting beautiful bands, chokers, bracelets and circular shapes with this mesmerizing variation. Give it a try!
Tubular Peyote Stitch -
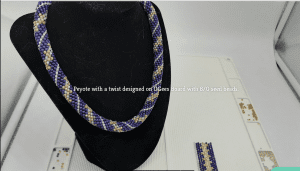
Tubular peyote with a twist necklace
To work tubular peyote, you’ll begin just like flat peyote – stringing an odd number of beads and connecting them in a circle. The difference comes in how you finish the first round. Rather than continuing to add perpendicular rows, you’ll work in an upward spiral.
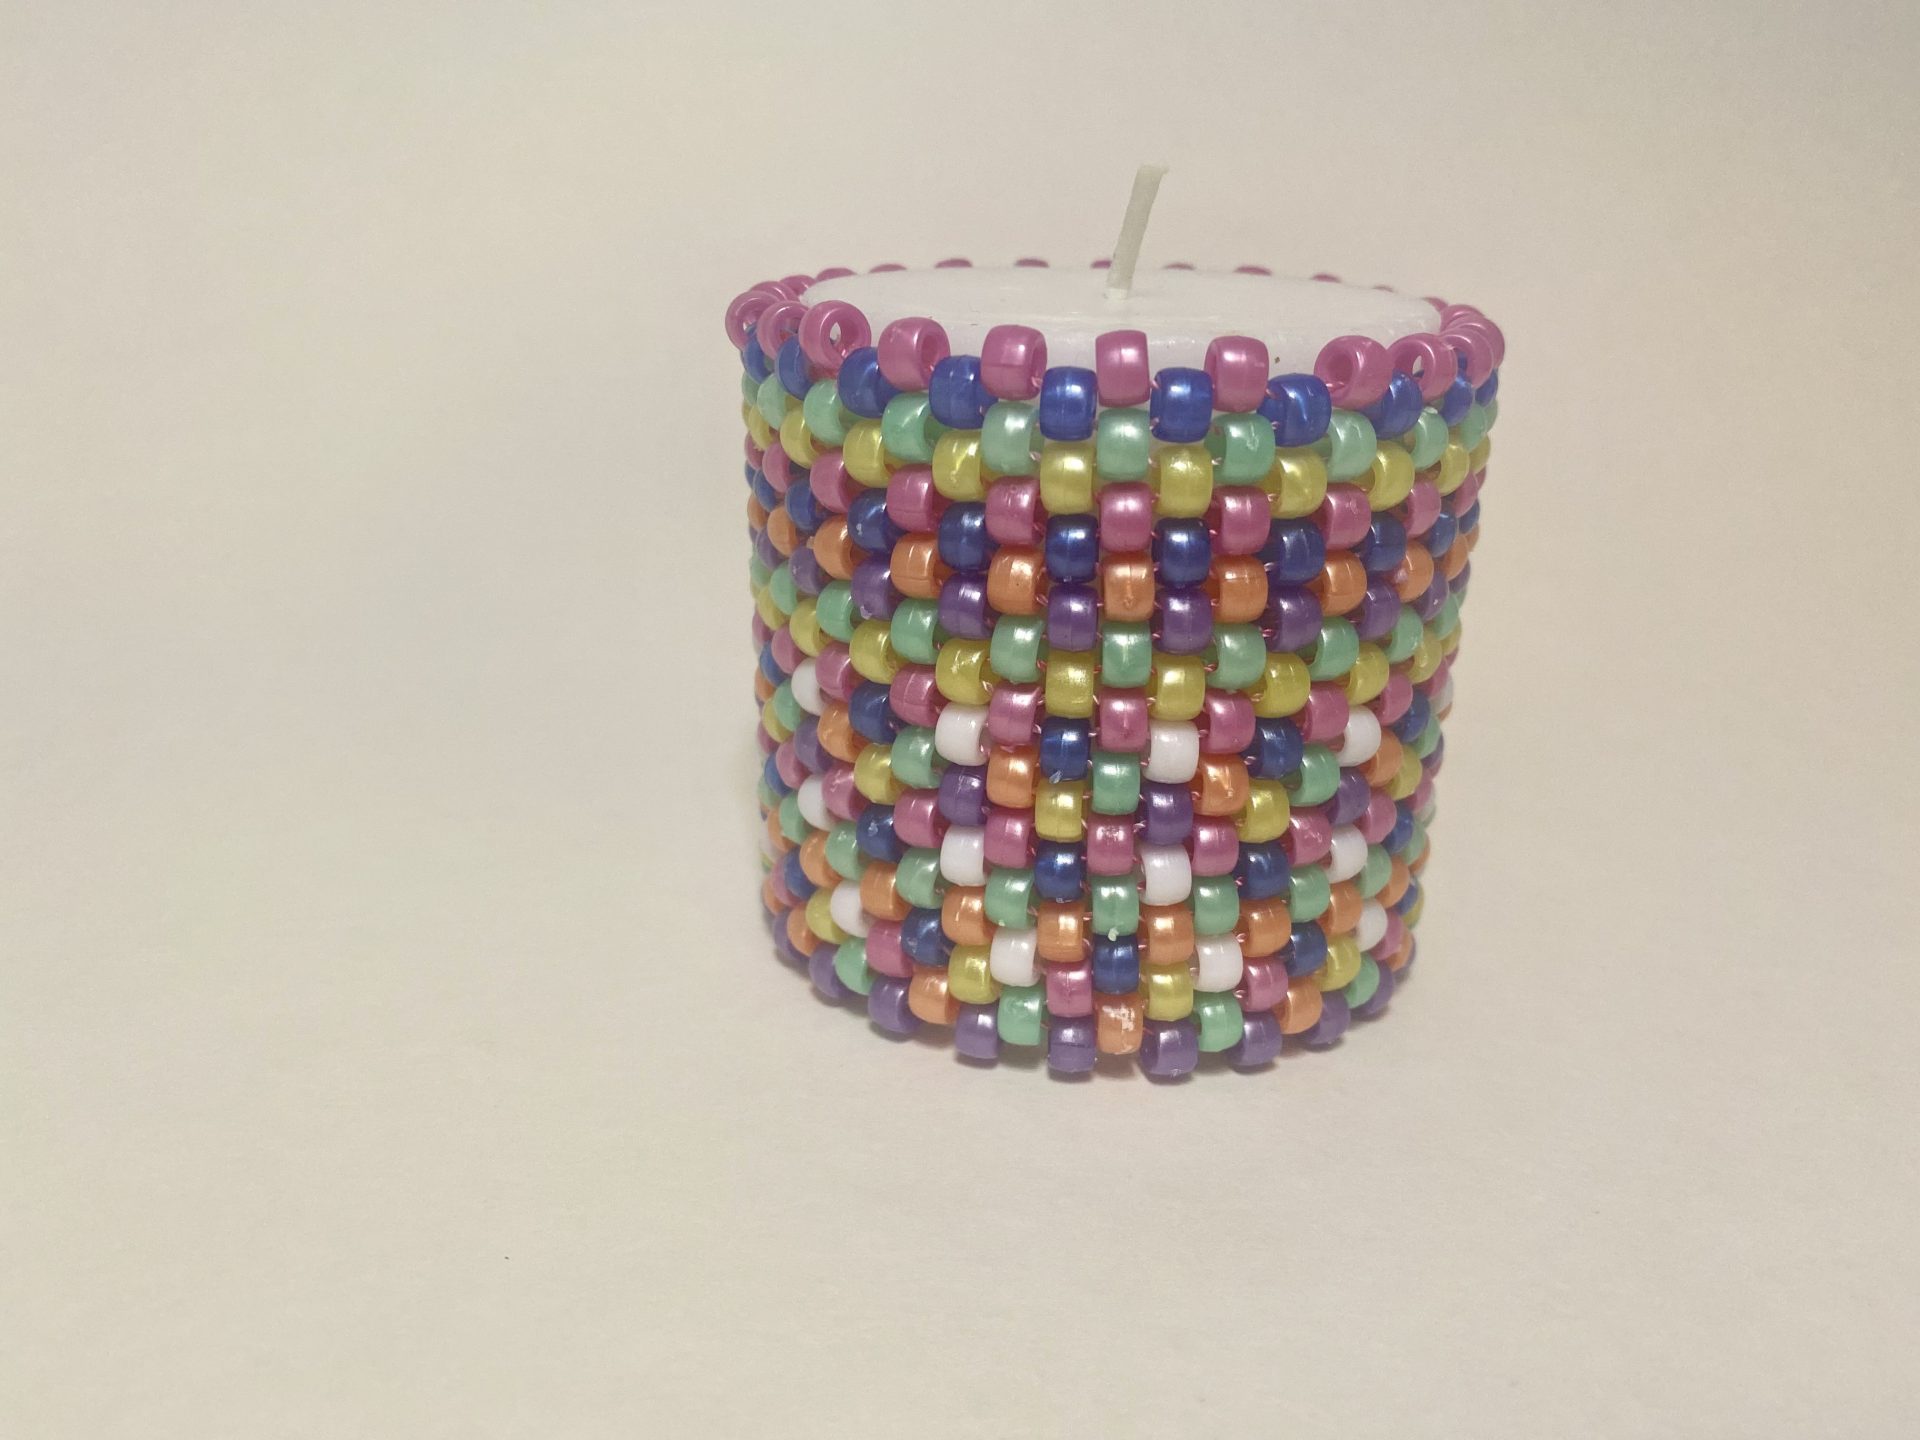
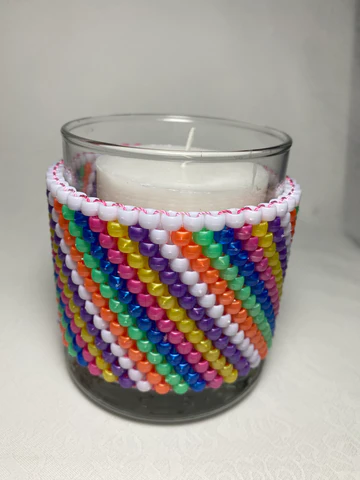
Tubular peyote stitch around a candle
Tubular peyote stitch around a candle
Pony bead tubular Peyote Stitch around a candle
Pony bead tubular Peyote Stitch around a candle

Odd count flat peyote using 5x5mm pearler beads
Odd count flat peyote using 5x5mm pearler beads
Odd count flat peyote using 4x6mm pony beads
Odd count flat peyote using 4x6mm pony beads
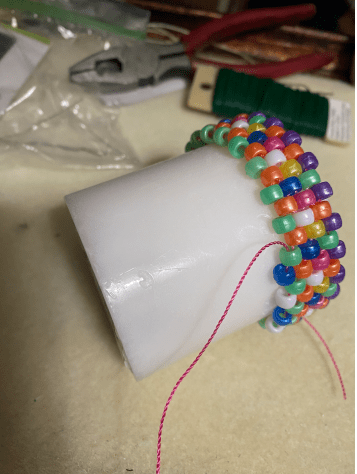
It can help to flip your work each round so the latest row you’re adding stays on top. Take care to gently scrunch the previous rows down into a tube shape as you go. Add beads to every row for a sturdy wall. Once your tube is the desired length, simply stitch back down through the beads to secure.
Tubular peyote is a great way to expand your 3D bead weaving skills. The tube shape also lends itself perfectly to becoming a bracelet or ring or to cover a candle, vase, pen, or lighter. Stretch yourself with this fun variation!
Circular Peyote Stitch -
To begin circular peyote, first complete a small “core” using either odd or even-count flat peyote. This will be the central starting point that your rounds stitch out from.
Let the core shape determine your design. For a flower, increase beads in a clockwise pattern. For a star, increase out into points from the center. Heart shapes can be made by decreasing as you work outward. The possibilities are endless!
Circular peyote lets you build colorful dimensional motifs for jewelry, ornaments, brooches, and so much more. It’s mesmerizing to watch your beadwork bloom into detailed patterns and be sure to try different bead sizes. Take your time, count carefully, and relish the meditative practice of peyote stitch in the round.
This may be the end to this article, but we have only scratched the surface of Peyote. It’s a skill that takes practice, but minimal practice. Expand your skills. Beading and following patterns is good for your brain and your eye/hand coordination. You are never too old to learn a new skill, and a fun one is beading peyote.

Recent Comments