Beading Beauty: A Journey into the Exquisite Art of Bead Embroidery
Introduction to bead embroidery
What is bead embroidery
- Bead embroidery is a sewing technique that incorporates beads into decorative embroidery and embellished designs on fabric. It is also sometimes referred to as beadwork.
- In bead embroidery, tiny seed beads as well as larger beads made of materials like glass, metal, plastic, wood, and clay are stitched into place on the fabric surface using a specialized beading needle and thread.
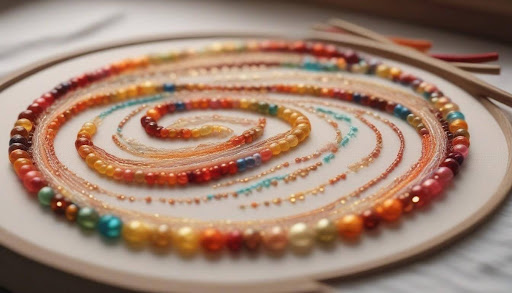
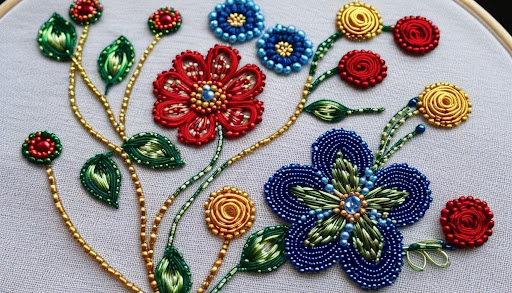
- The beads add texture, color, and visual interest to the embroidery. They can be stitched into intricate patterns and fully cover portions of the fabric’s surface as part of the design.
- Bead embroidery requires precision stitching to keep the beads secured neatly to the fabric. A variety of stitches can be used including backstitch, straight stitch, and single beading stitches.
Origin and history of bead embroidery

- Bead embroidery dates back thousands of years, with some of the earliest examples found in ancient Egyptian tombs and the Middle East
- During medieval times, embellished clothing with beads became a symbol of wealth and status in Europe, worn by royalty and the noble class
- In Asia, beadwork has a long history as well, with beads used to decorate clothing, wall hangings, and ceremonial objects
- Native American tribes used beads and quills to embellish tribal clothing and accessories long before the introduction of seed beads from Europe
- Around the late 1800s and early 1900s, bead embroidery saw a rise in popularity and became a genteel decorative art form in Victorian times
- Today, beading embroidery remains a popular needlecraft enjoyed across cultures by bead artists looking for ways to express their creativity through this dimensional and sparkling form of embellishment.
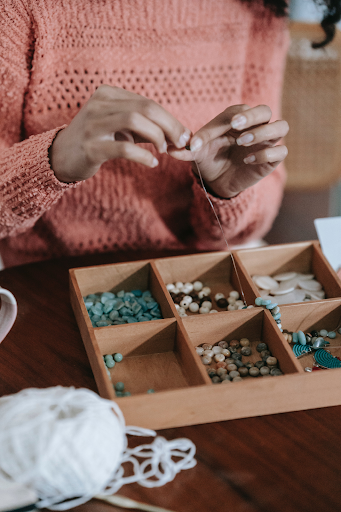
Materials required for bead embroidery
- Fabric: Materials like linen, cotton, wool, velvet, chiffon, and silk work well for beading, as they can withstand the weight of the beads.
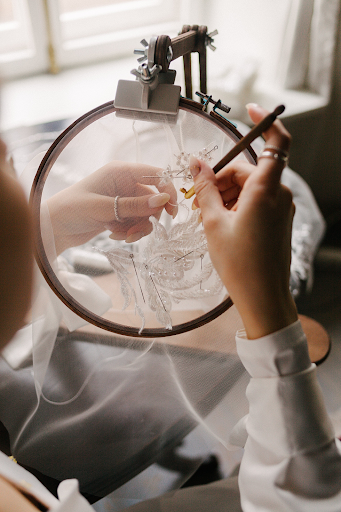
- Embroidery hoop: Helps hold the fabric taut while working on the design.
- Beads: Glass beads, metal beads, pearls, and seed beads are often used. Color, size, and material are selected based on design.
- Beading needle: Longer and thinner than a standard embroidery needle to fit through bead holes. Glass beading needles work for most projects.
- Beading thread or embroidery floss: Strong nylon beading thread is ideal. Some also use lightweight embroidery floss. Match color to beads.
- Scissors: Both regular for cutting threads and small, pointed embroidery scissors for precise tasks.
- Adhesives like fabric glue: Can be used for attaching beads in some cases. Best if flexible when dry.
- Tweezers: For precise placement of seed beads or sequins during intricate embroidery work.
Best beads for bead embroidery
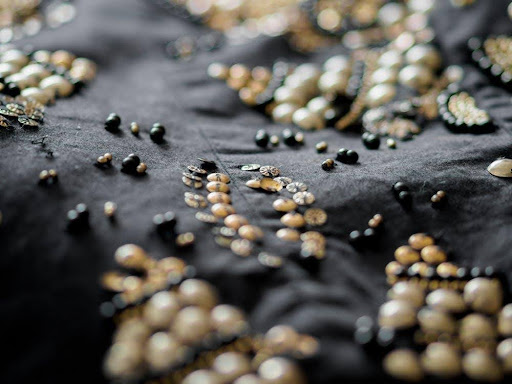
Seed Beads
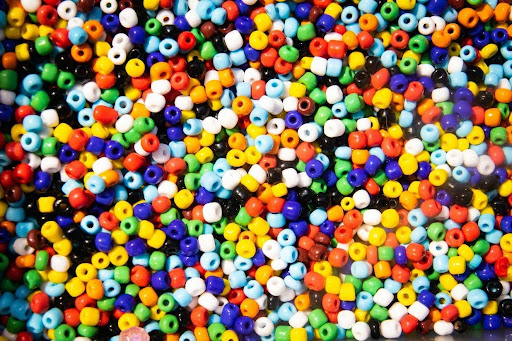
- Very small, round glass beads in size 10°, 11°, or 15° (10/0, 11/0, or 15/0)
- Come in a huge variety of colors and finishes like metallic
- Ideal for detailed patterns, bead weaving, creating textured surfaces
Glass Beads
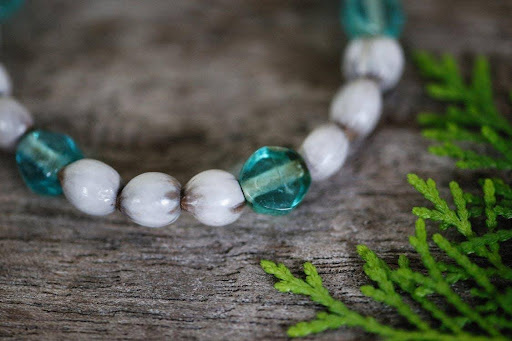
- Affordable, shiny, durable, available in limitless shapes/colors/sizes
- Great for flower motifs, jewelry looks, decorative touches
- Better suited for occasional larger accents than full coverage
Miyuki Beads
- High-quality Japanese brand known for uniform size/shape/holes
- Excellent for flawless finished results in intricate bead embroidery
- Often used for beaded lace, precise geometric patterns
Swarovski Crystal Beads

- “Jewels” of the beading world, premium shine and sparkle
- Stunning used sparingly or combined with other beads
- Pricey but elevate to heirloom level embroidery
Pearl Beads

- Classic for floral designs, bridal looks, Vintage charm
- Natural or faux; both have elegant luster
- Softer visual texture than glass so nicely mixes with other beads
Techniques of bead embroidery
Running stitch
- The running stitch is quick, straight stitching used in bead embroidery to attach beads along a line of stitching.
- Begin by knotting the thread on the underside of the fabric. Bring the needle up to the top at your starting point for the line of beads.
- String a bead onto the thread, slide it down to meet the fabric, then go back down with the needle to anchor it in place. The bead will sit on the top of the stitch.
- Continue stringing beads and stitching up and down in a “run” along the fabric. Keep the stitches and spacing between beads even and snug.
- As its name indicates, the needle seems to “run” along the thread path smoothly, threading a bead onto the top at each up-stitch before going back to the underside.
- It creates a solid line of beads that follows the embroidered thread line underneath. This looks great when outlining shapes or as organic freeform lines of beads across the fabric.
Backstitch
- The backstitch secures beads with crisscross stitches over the thread path.
How to do backstitch
- Come up through fabric at first bead placement and string bead. Stitch back down just ahead of that spot.
- Stitch back up with needle at end of last stitch. String another bead and stitch back down just ahead again.
- This creates a tiny interconnect stitch where the threads cross underneath each bead.
- Looks like dashed stitching line on surface with beads sitting on top at intervals. Locks beads firmly in embroidered line.
- Takes more thread than running stitch but makes very sturdy, neat bead outline that won’t loosen or fray over time with wear.
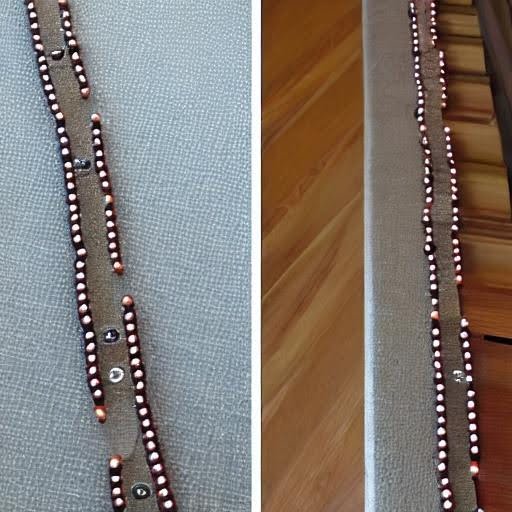
Bead Edging

- A Simple and Elegant Technique for Finishing Fabrics
- Bead edging is a beautiful and easy way to add a touch of elegance to any fabric. It is a simple technique that can be used to create a variety of effects, from delicate and understated to bold and eye-catching.
- What is bead edging?
- Bead edging is a type of embroidery that uses beads to create a decorative edge on fabric. It is a versatile technique that can be used to finish a variety of items, including clothing, home décor, and accessories.
How to do bead edging

- Thread your needle. Cut a length of embroidery thread that is about 18 inches long. Thread the needle with the thread and knot the end of the thread.
- Stitch the beads onto the fabric. There are many different ways to stitch beads onto fabric, but the most common method is to use a running stitch.
- Take a small stitch forward, about 1/4 inch or 1/8 inch long, depending on the desired spacing of the stitches.
- Bring the needle down to the surface of the fabric and pull the thread through until the stitch is taut. Continue making stitches in this manner until you reach the desired end point of the stitch.
- Knot the end of the thread to secure the stitches.
Tips for bead edging
- Use a beading board or a piece of felt to protect your work surface.
- Use a thimble to protect your finger from the needle.
- Knot your thread every few inches to prevent the beads from falling off.
- Trim the thread close to the knot when you are finished stitching.
- Use a variety of beads and stitches to create different effects.
Tips and tricks for bead embroidery
Tip 1: Choose the right tools and materials

- Beads: Seed beads are the most common type of bead used in bead embroidery, as they are small and easy to work with. You can also use a variety of other beads, such as bugle beads, pearls, and crystals, to create different effects.
- Needles: Use sharp beading needles that are the appropriate size for the beads you are using. Beading needles have small, thin eyes that make it easy to thread them with beading thread.
- Thread: Use strong beading thread that is the appropriate color for your beads. Beading thread is typically made of nylon or polyester and is available in a variety of colors.
- Fabric: Choose a fabric that is sturdy enough to support the weight of the beads. Cotton, linen, and felt are all good choices for bead embroidery.
- Hoop or frame: A hoop or frame will help to keep your fabric taut while you are stitching. This will make it easier to make even stitches.
Tip 2: Learn the basic stitches
- Running stitch: This is the simplest stitch and is used to stitch beads in a row.
- Back stitch: This stitch is used to outline shapes and create details.
- French knot: This stitch is used to create small, raised beads.
- Bullion stitch: This stitch is used to create long, raised beads.
Tip 3: Knot your thread often
It is important to knot your thread often to prevent the beads from falling off. Knot your thread every few inches or whenever you change colors.
Tip 4: Use a thimble
A thimble will protect your finger from the needle.
Tip 5: Be patient
Bead embroidery can be a time-consuming process, so be patient and take your time. The results will be worth it!
Recent Comments